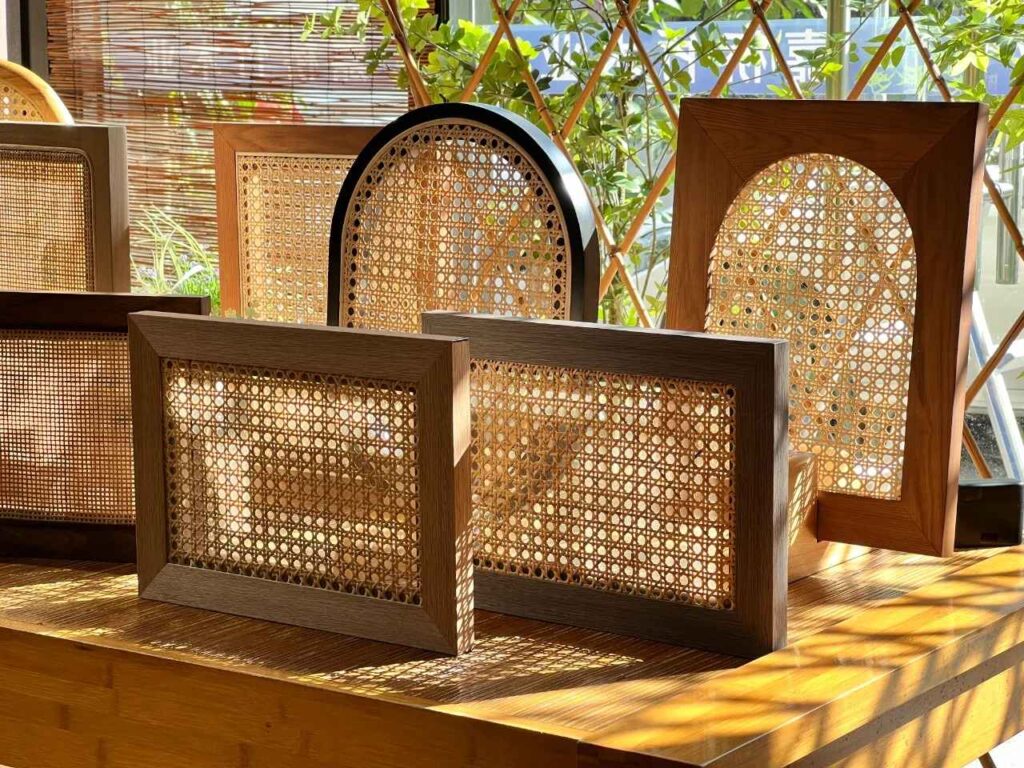
When it comes to furniture styling, the combination of natural materials like rattan and wood creates an inviting aesthetic that is both modern and timeless. If you’re wondering how to attach rattan to wood, you have come to the right place. This article will walk you through all the intricate details on attaching rattan to various wooden surfaces, particularly in cabinets and furniture, ensuring your DIY projects are not only beautiful but durable as well.
How to attach rattan to wood
Attaching rattan to wood is a skill that can transform your furniture into stunning pieces of art. The process involves several steps, each contributing to a seamless finish. Whether you’re revamping an old chair or creating a unique cabinet, understanding how to properly attach rattan can make a significant difference in the final outcome.
The importance of preparation cannot be overstated. Before diving into the project, ensure you have all necessary tools ready: a utility knife, wooden stapler, warm water for soaking the rattan, and a towel for drying purposes. Properly preparing both the rattan and the wooden surface is essential for achieving a stable and beautiful attachment.
Understanding Rattan
Rattan is a versatile material often used in furniture due to its durability and natural appeal. When working with rattan, you must consider its moisture content. Soaking it in warm water makes the fibers more pliable, which is crucial when wrapping it around corners or securing it to wooden frames.
Preparation Steps
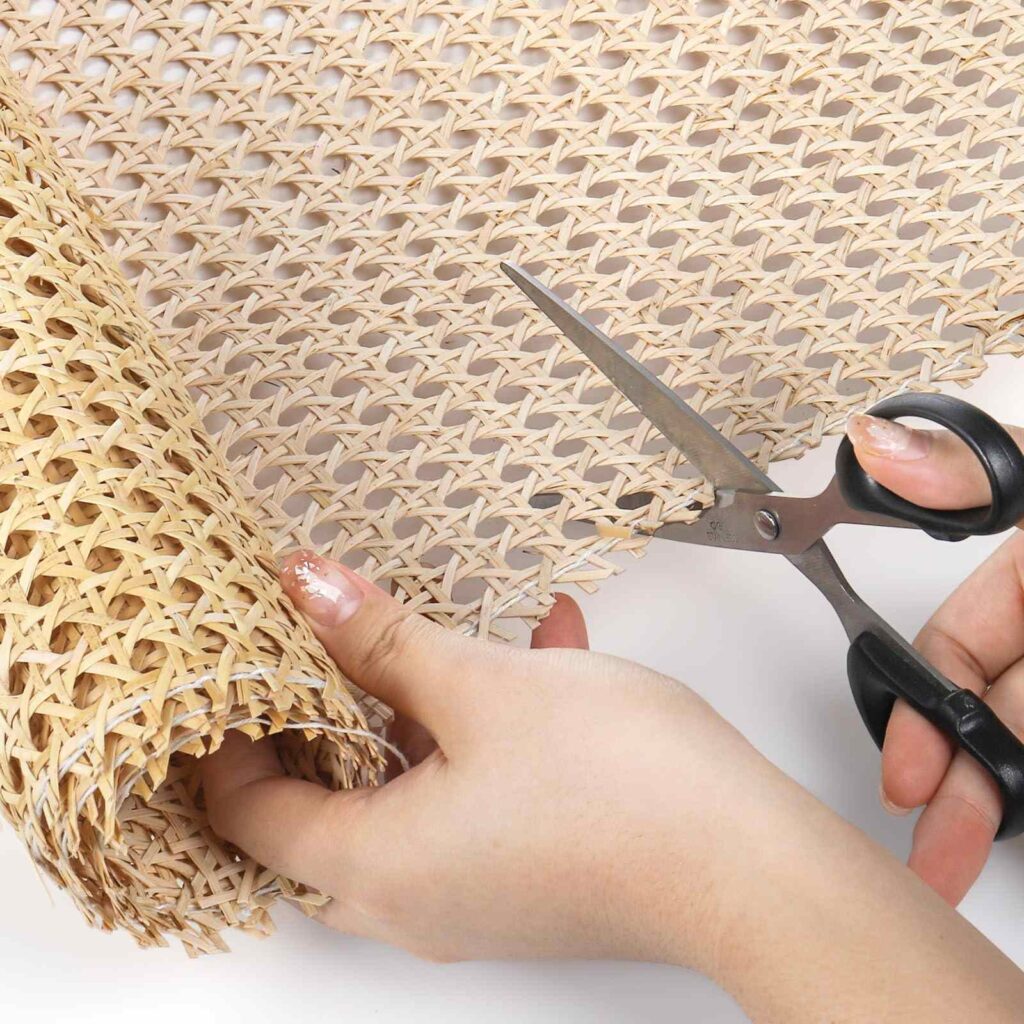
Start by cutting the rattan webbing to the desired size. It’s advisable to cut a bit larger than needed; this allows for adjustments during the installation. The next step is soaking the rattan in warm water for at least half an hour. This softens the material, making it easier to work with.
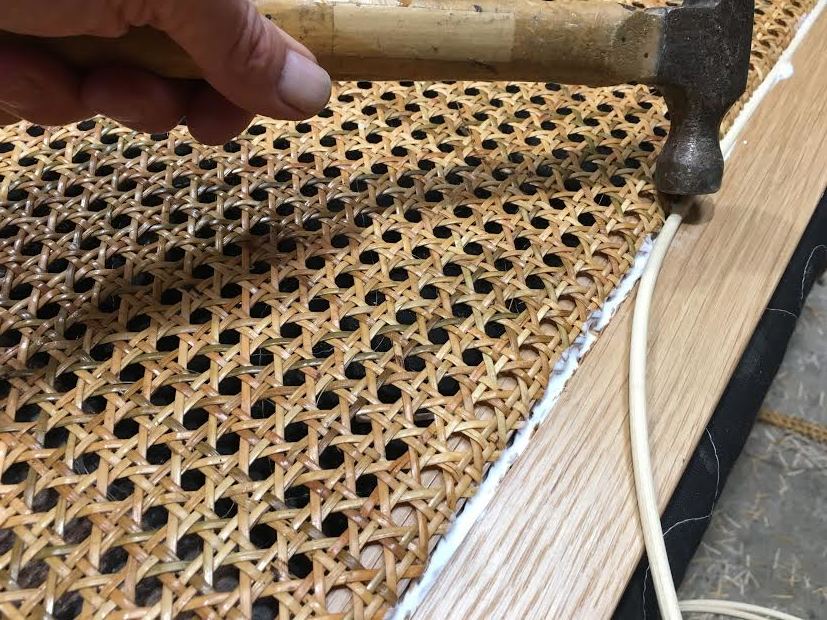
After soaking, use a towel to dry off any excess water. With the rattan now softened, it’s time to fix it onto the wood using a wooden stapler. Begin from one edge, fix the middle, then proceed to secure the remaining sides. Trimming off any excess rattan with a utility knife creates a neat finish, followed by covering the edges with wood to give it a polished look.
How to attach rattan to wood cabinets
When it comes to cabinetry, attaching rattan adds a distinctive flair that elevates the overall design. From kitchen cabinets to decorative storage units, the procedure remains largely the same but requires some specific considerations.
Choosing the Right Rattan
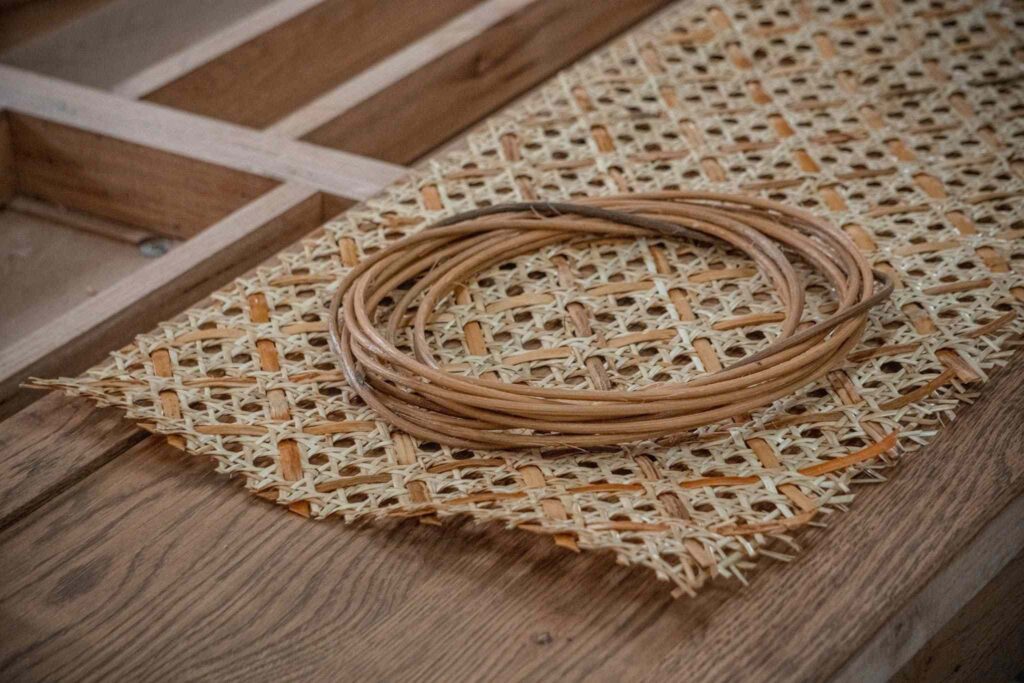
Not all rattan is created equal—consider the thickness and pattern of the rattan you choose. Thicker rattan provides sturdiness, while patterned rattan can offer a more decorative touch. Selecting the right type can significantly enhance the aesthetics of your cabinets.
Measuring and Cutting
Before you even think about soaking, measure the cabinet doors accurately. Always allow extra length beyond the measurements to accommodate error during installation. Once measured, cut the rattan accordingly, being mindful of sharp edges that could cause injury during handling.
Soaking and Drying
As mentioned earlier, soaking is vital. Immerse the rattan in warm water for about 30 minutes. After soaking, ensure you dry it thoroughly to prevent mold or mildew from forming in the damp environment of your kitchen.
Fixing the Rattan
For fixing rattan to cabinets, start from one side and work your way around just as you would with any other wooden piece. It’s critical to maintain tension throughout the application to avoid sagging after the rattan dries. Using a wooden stapler ensures it holds firm without causing damage to either the rattan or the wood.
How to attach rattan to furniture
Attaching rattan to furniture can breathe new life into old pieces or enhance new ones. Whether it’s chairs, tables, or decorative pieces, the techniques to securely attach rattan remain consistent.
Selecting Suitable Furniture
Consider the type of furniture you’re working on. Chairs might require different techniques compared to tables, especially if the rattan needs to wrap around curves. Ensure that the furniture frame is sturdy enough to support the additional weight of the rattan.
Preparing the Surface
The first step is cleaning the wooden surface. Dust and grime can prevent proper adhesion. Use sandpaper to smooth any rough spots on the wood, providing a better bonding surface for the rattan. Following that, wipe down the area to remove any dust.
Attaching the Rattan
Once again, soak the rattan before starting the attachment process. Working from one end, secure the rattan tightly to the furniture using a wooden stapler. Maintain consistent tension throughout to eradicate any looseness, especially around corners and edges.
Finishing Touches
After securing the rattan, trim off any excess material. Cover raw edges with additional wood strips or decorative trim to create a polished look. These finishing touches not only enhance the appearance but also contribute to the durability of your piece.

Can you glue rattan to wood?
A common question arises among DIY enthusiasts: can you glue rattan to wood? While many people default to stapling, gluing can be an effective alternative if done correctly.
Understanding Adhesives
Using the right adhesive is crucial for a successful bond between rattan and wood. Certain types of wood glue are designed for porous materials, making them suitable for rattan. However, not all adhesives provide the same level of durability.
Application Techniques
If you choose to go the gluing route, apply the adhesive evenly along the wooden surface before laying the rattan on top. Press firmly to ensure contact, wiping away any excess glue that may seep out. For best results, clamp the rattan in place until the glue fully cures.
Drying Time Matters
Allow ample drying time as per the adhesive’s instructions. Avoid disturbing the rattan during this period to prevent misalignment. After the glue has dried, inspect the bond quality; if it’s solid, you’ve successfully attached the rattan.
Risks and Benefits
While gluing offers a clean finish without visible fasteners, it requires precision and patience. Mistakes in alignment can lead to wasted material and compromised aesthetics. Therefore, weigh the risks against the benefits before deciding whether to glue or staple.
Conclusion
In conclusion, learning how to attach rattan to wood opens up a myriad of possibilities for furniture restoration and creation. Whether tackling cabinets or general furniture, the correct methods and tools will result in a professional-looking finish. Additionally, understanding the strengths and weaknesses of adhesive options versus mechanical fasteners will help you make informed decisions based on your project requirements. With careful planning, you can achieve stunning results that marry functionality with lasting beauty. Happy crafting!